Users

What are users in SenseFlow?

Users refers to the individuals using SenseFlow. There are two types of users: the employees and the product/company owner. Each of these types have different permissions.

Individual users (employees of a company)
Permitted to view and do the following within SenseFlow:

1. Their time (this is the journaling part where they add their tasks done for the day)
2. The teams they are a part of
3. The projects they are on

The product/company owner
Permitted to view and do the following within SenseFlow:

1. View what users (employees) are doing with their time and resources
2. Create new projects and teams
3. Get summarised and in depth reports on productivity, satisfaction, and finance for projects and teams
4. Add or remove users (employees)

To find your users page, click on ‘Settings’ in the top navigation bar. Click on the ‘Users’ button on the side. Here you will then see all the users you have on your company account.

How invite and add new users

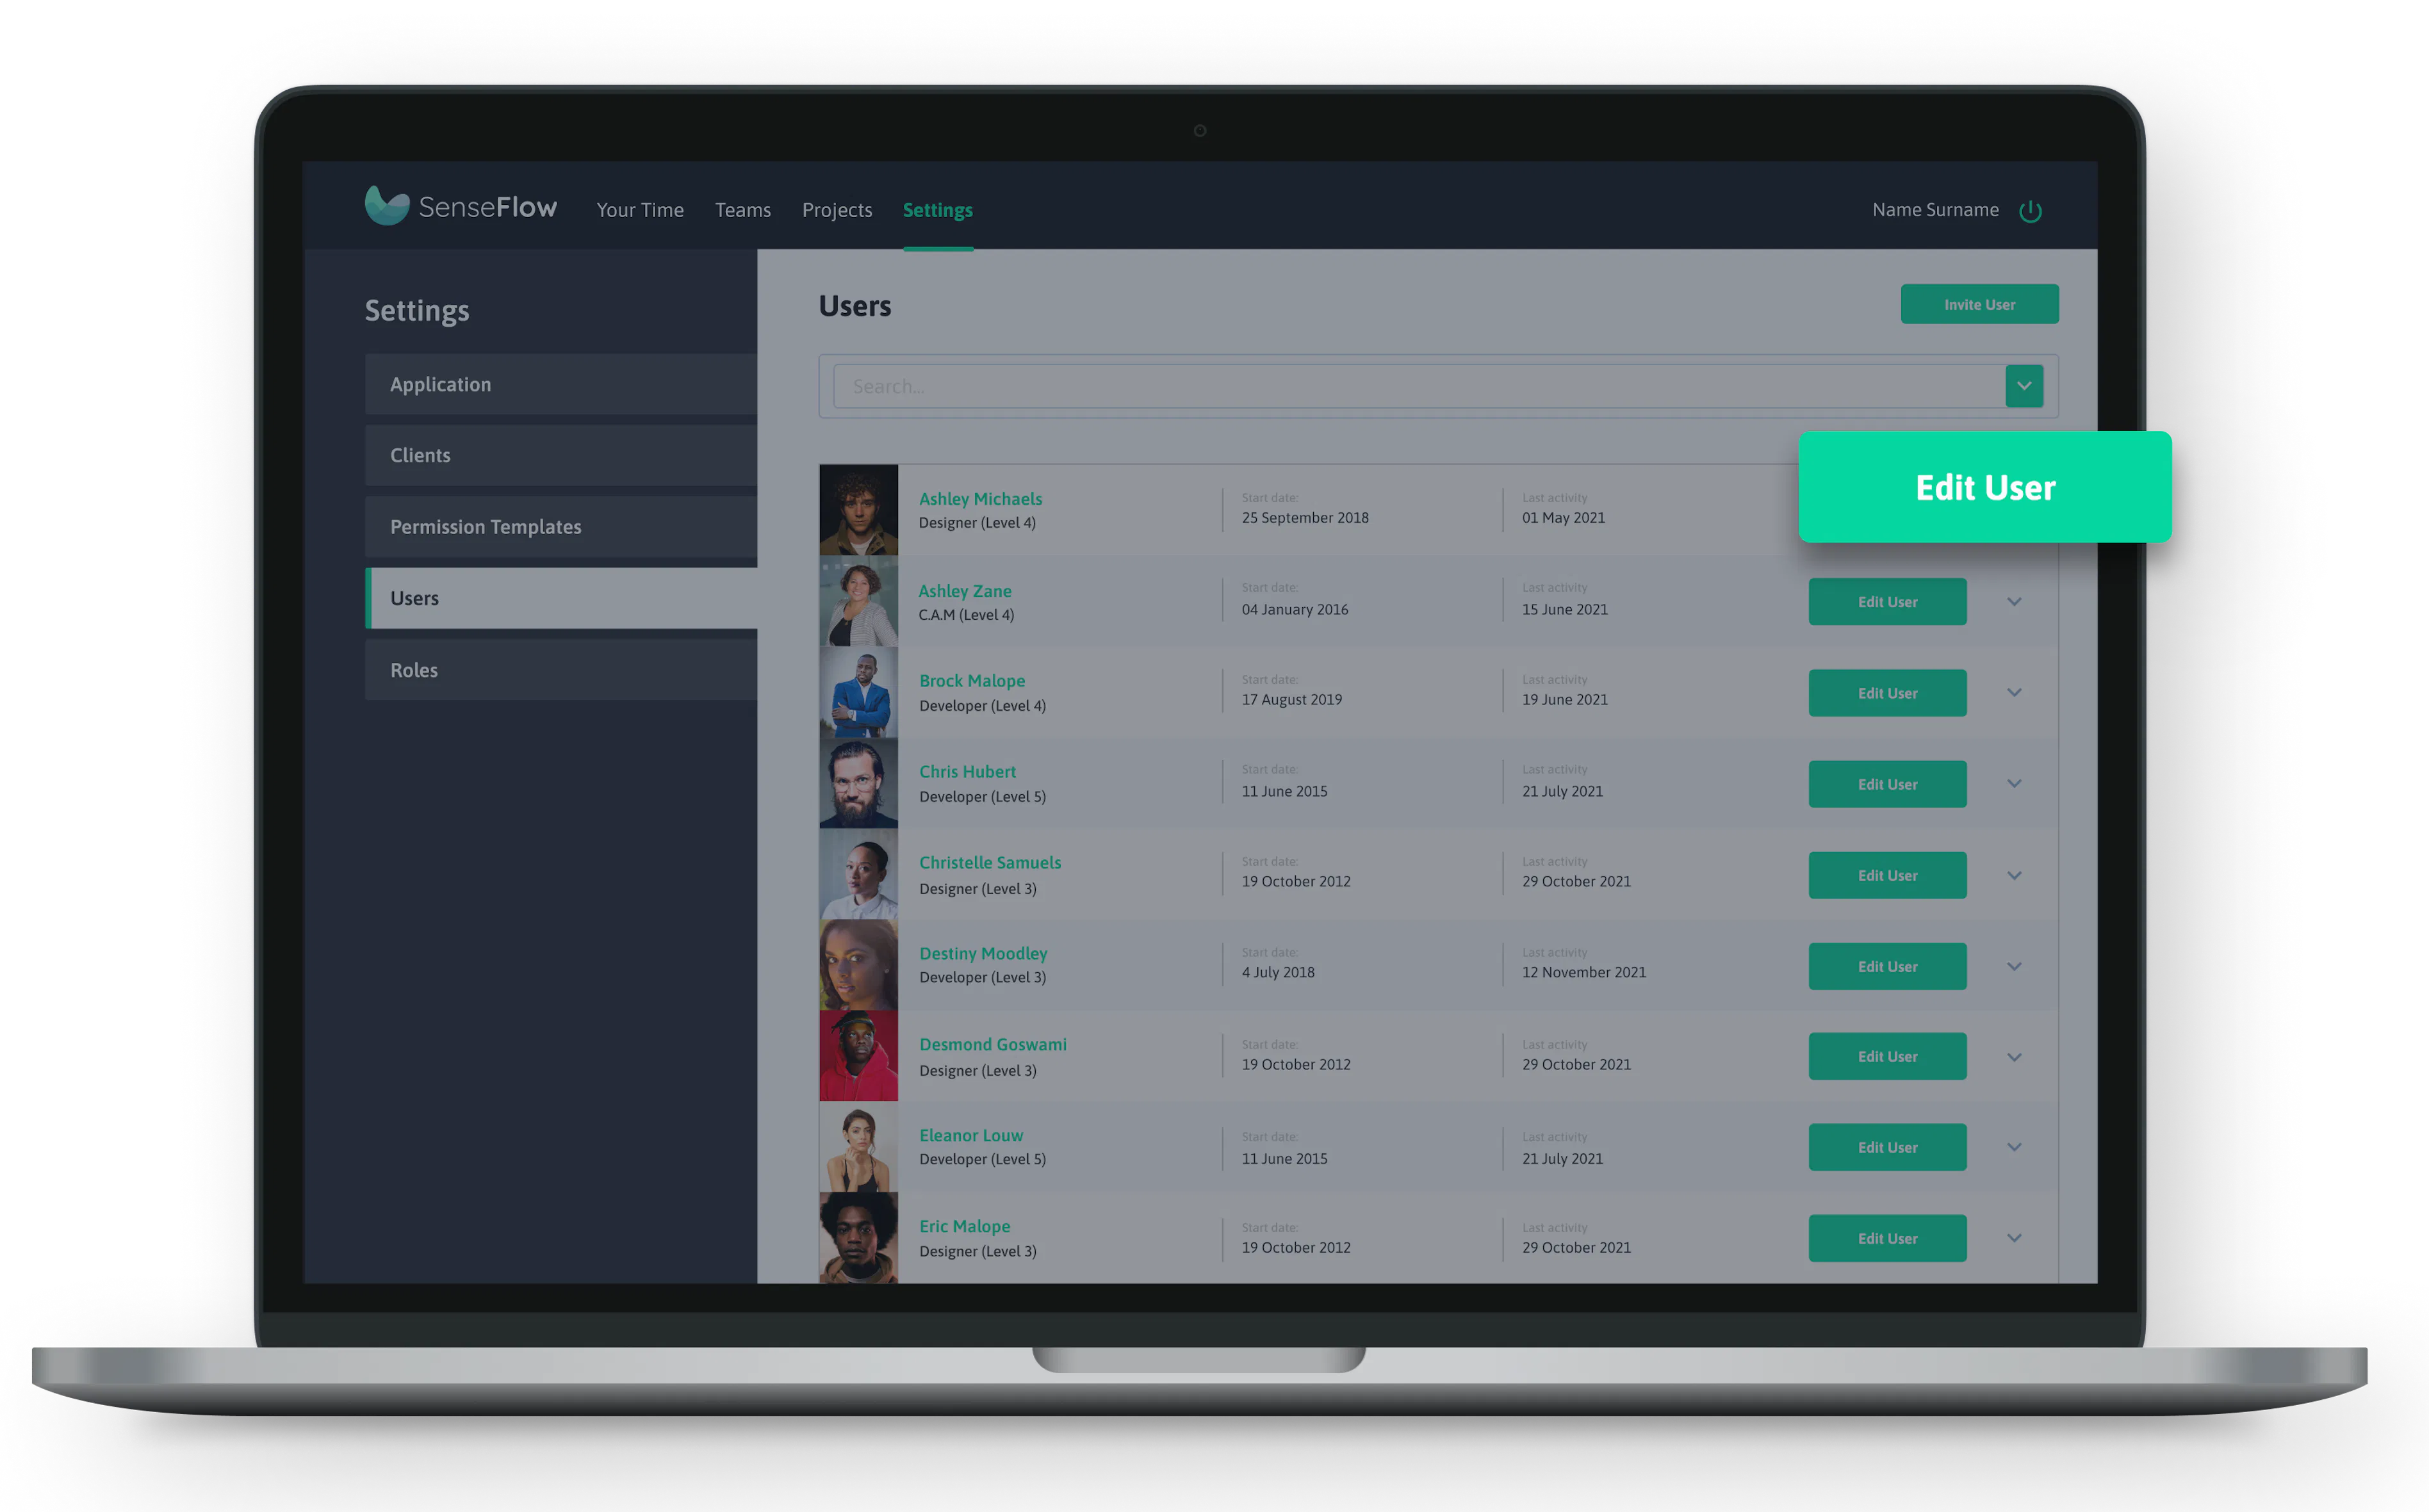
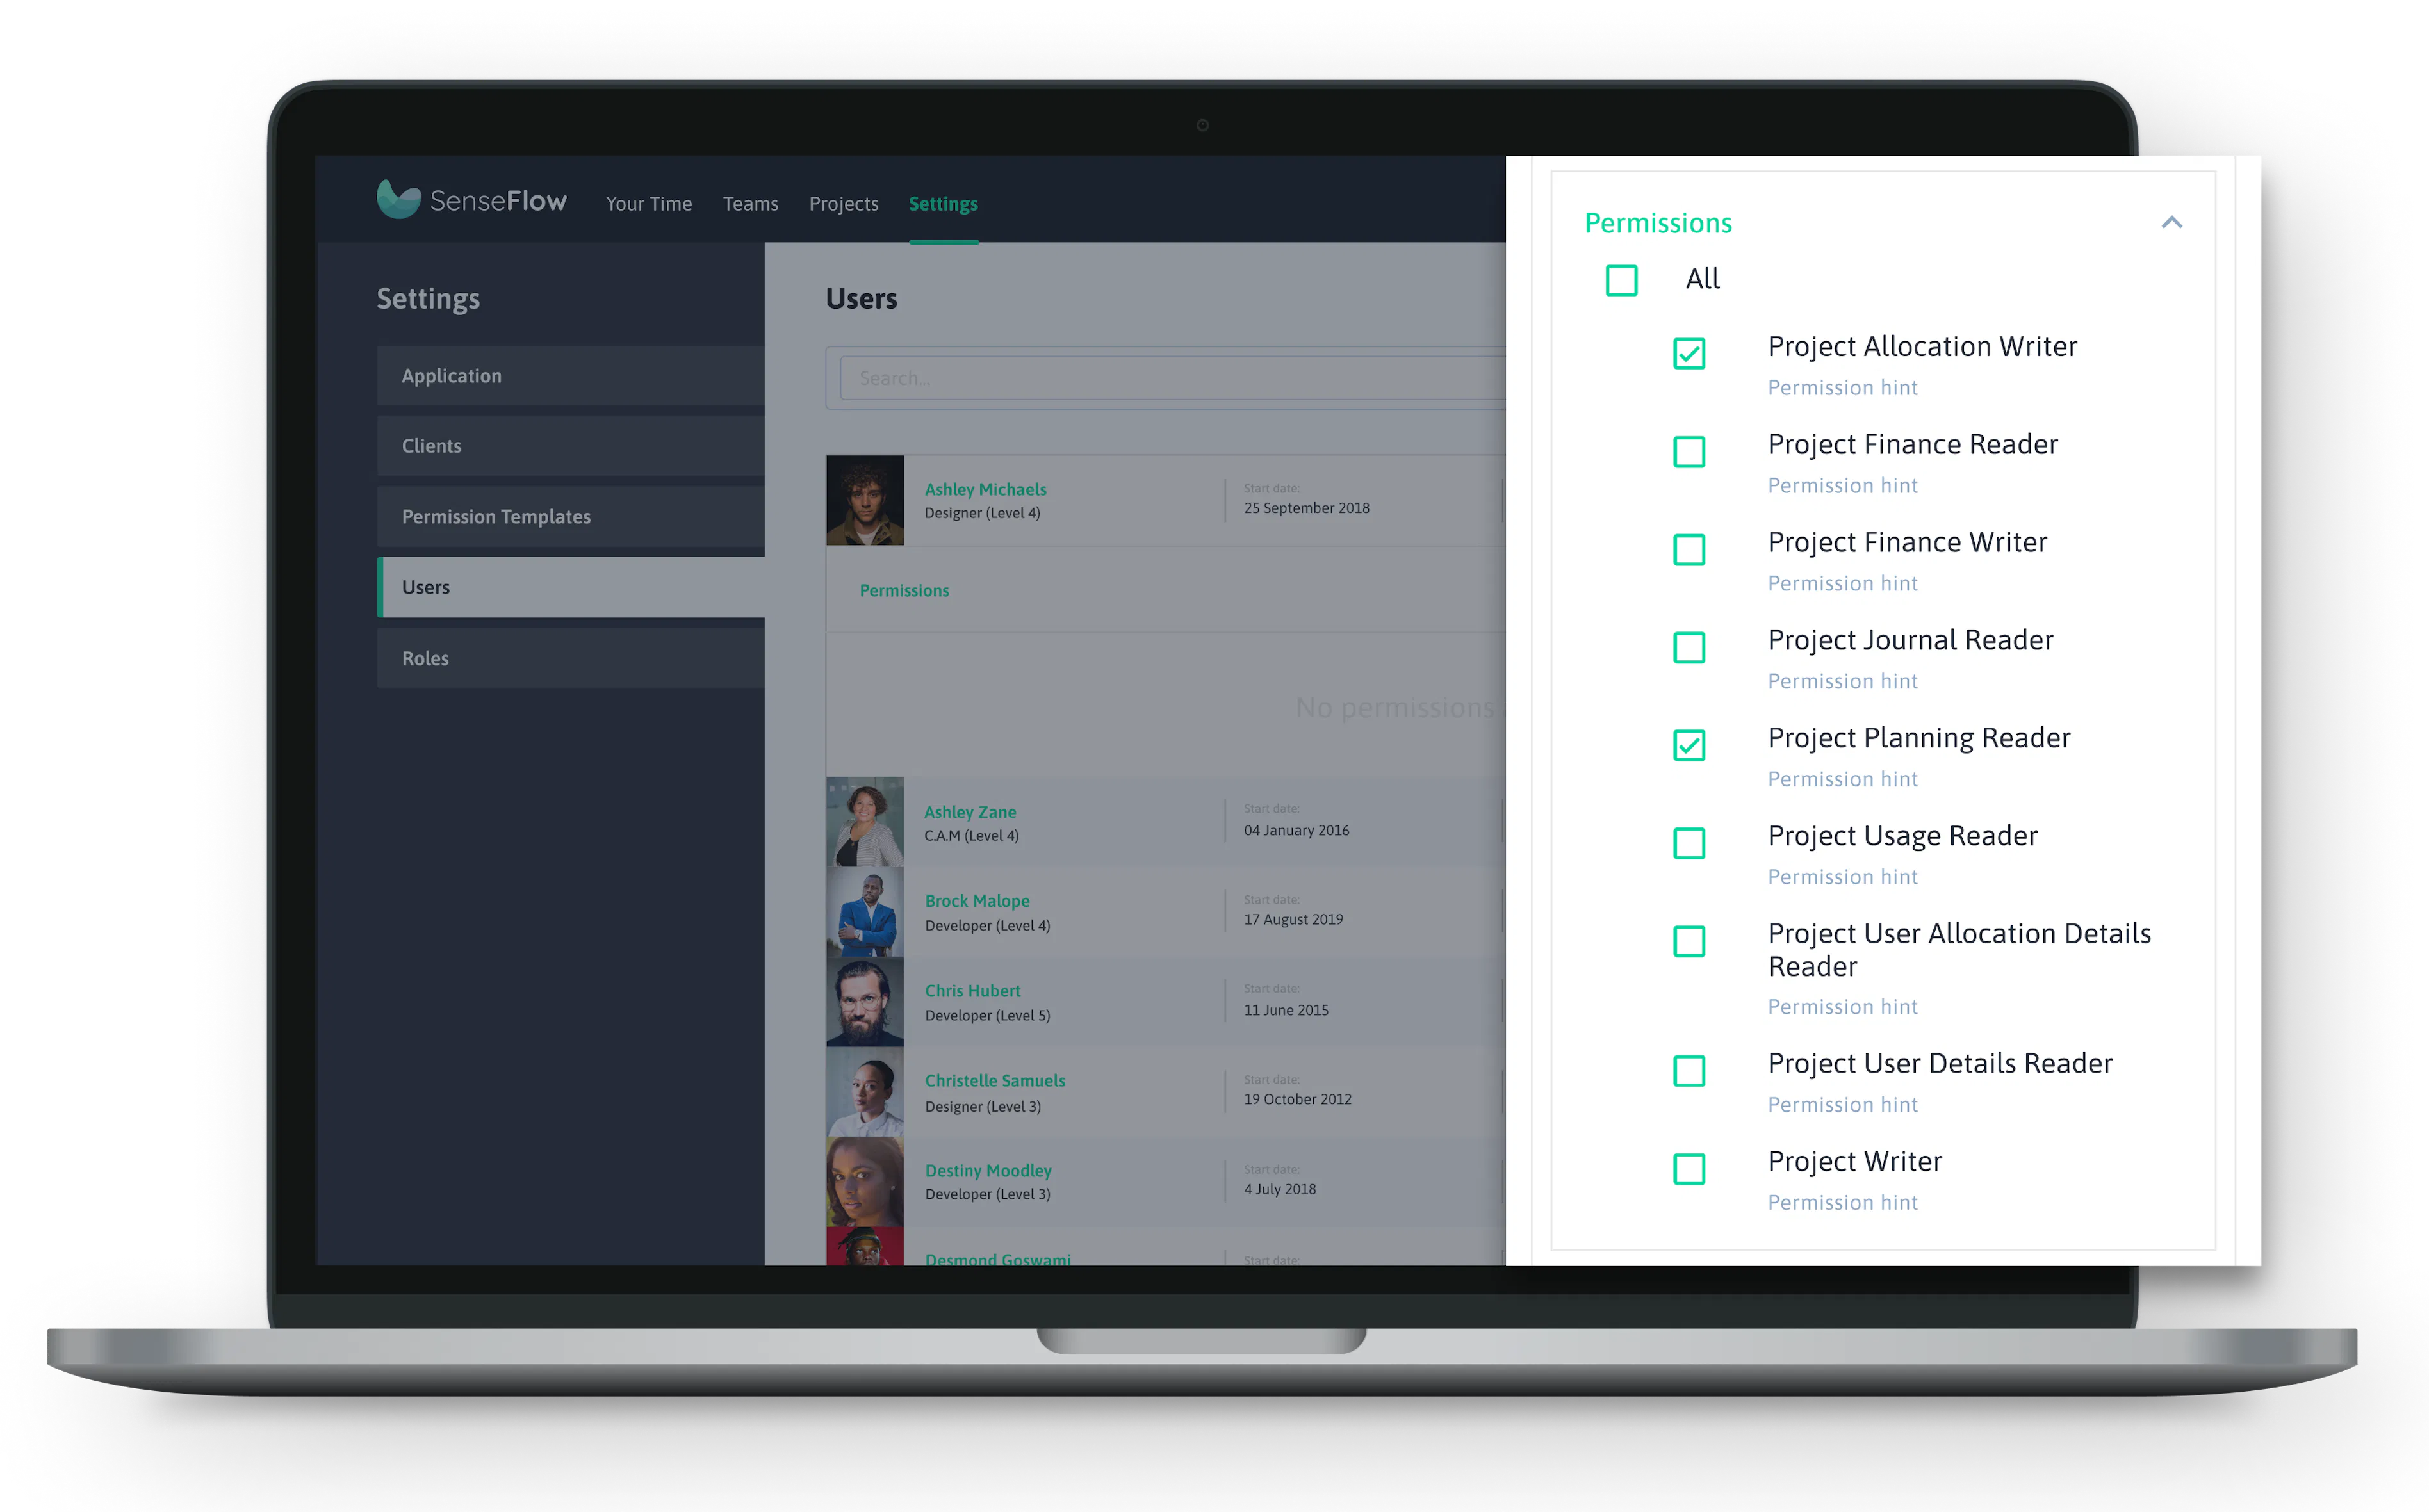
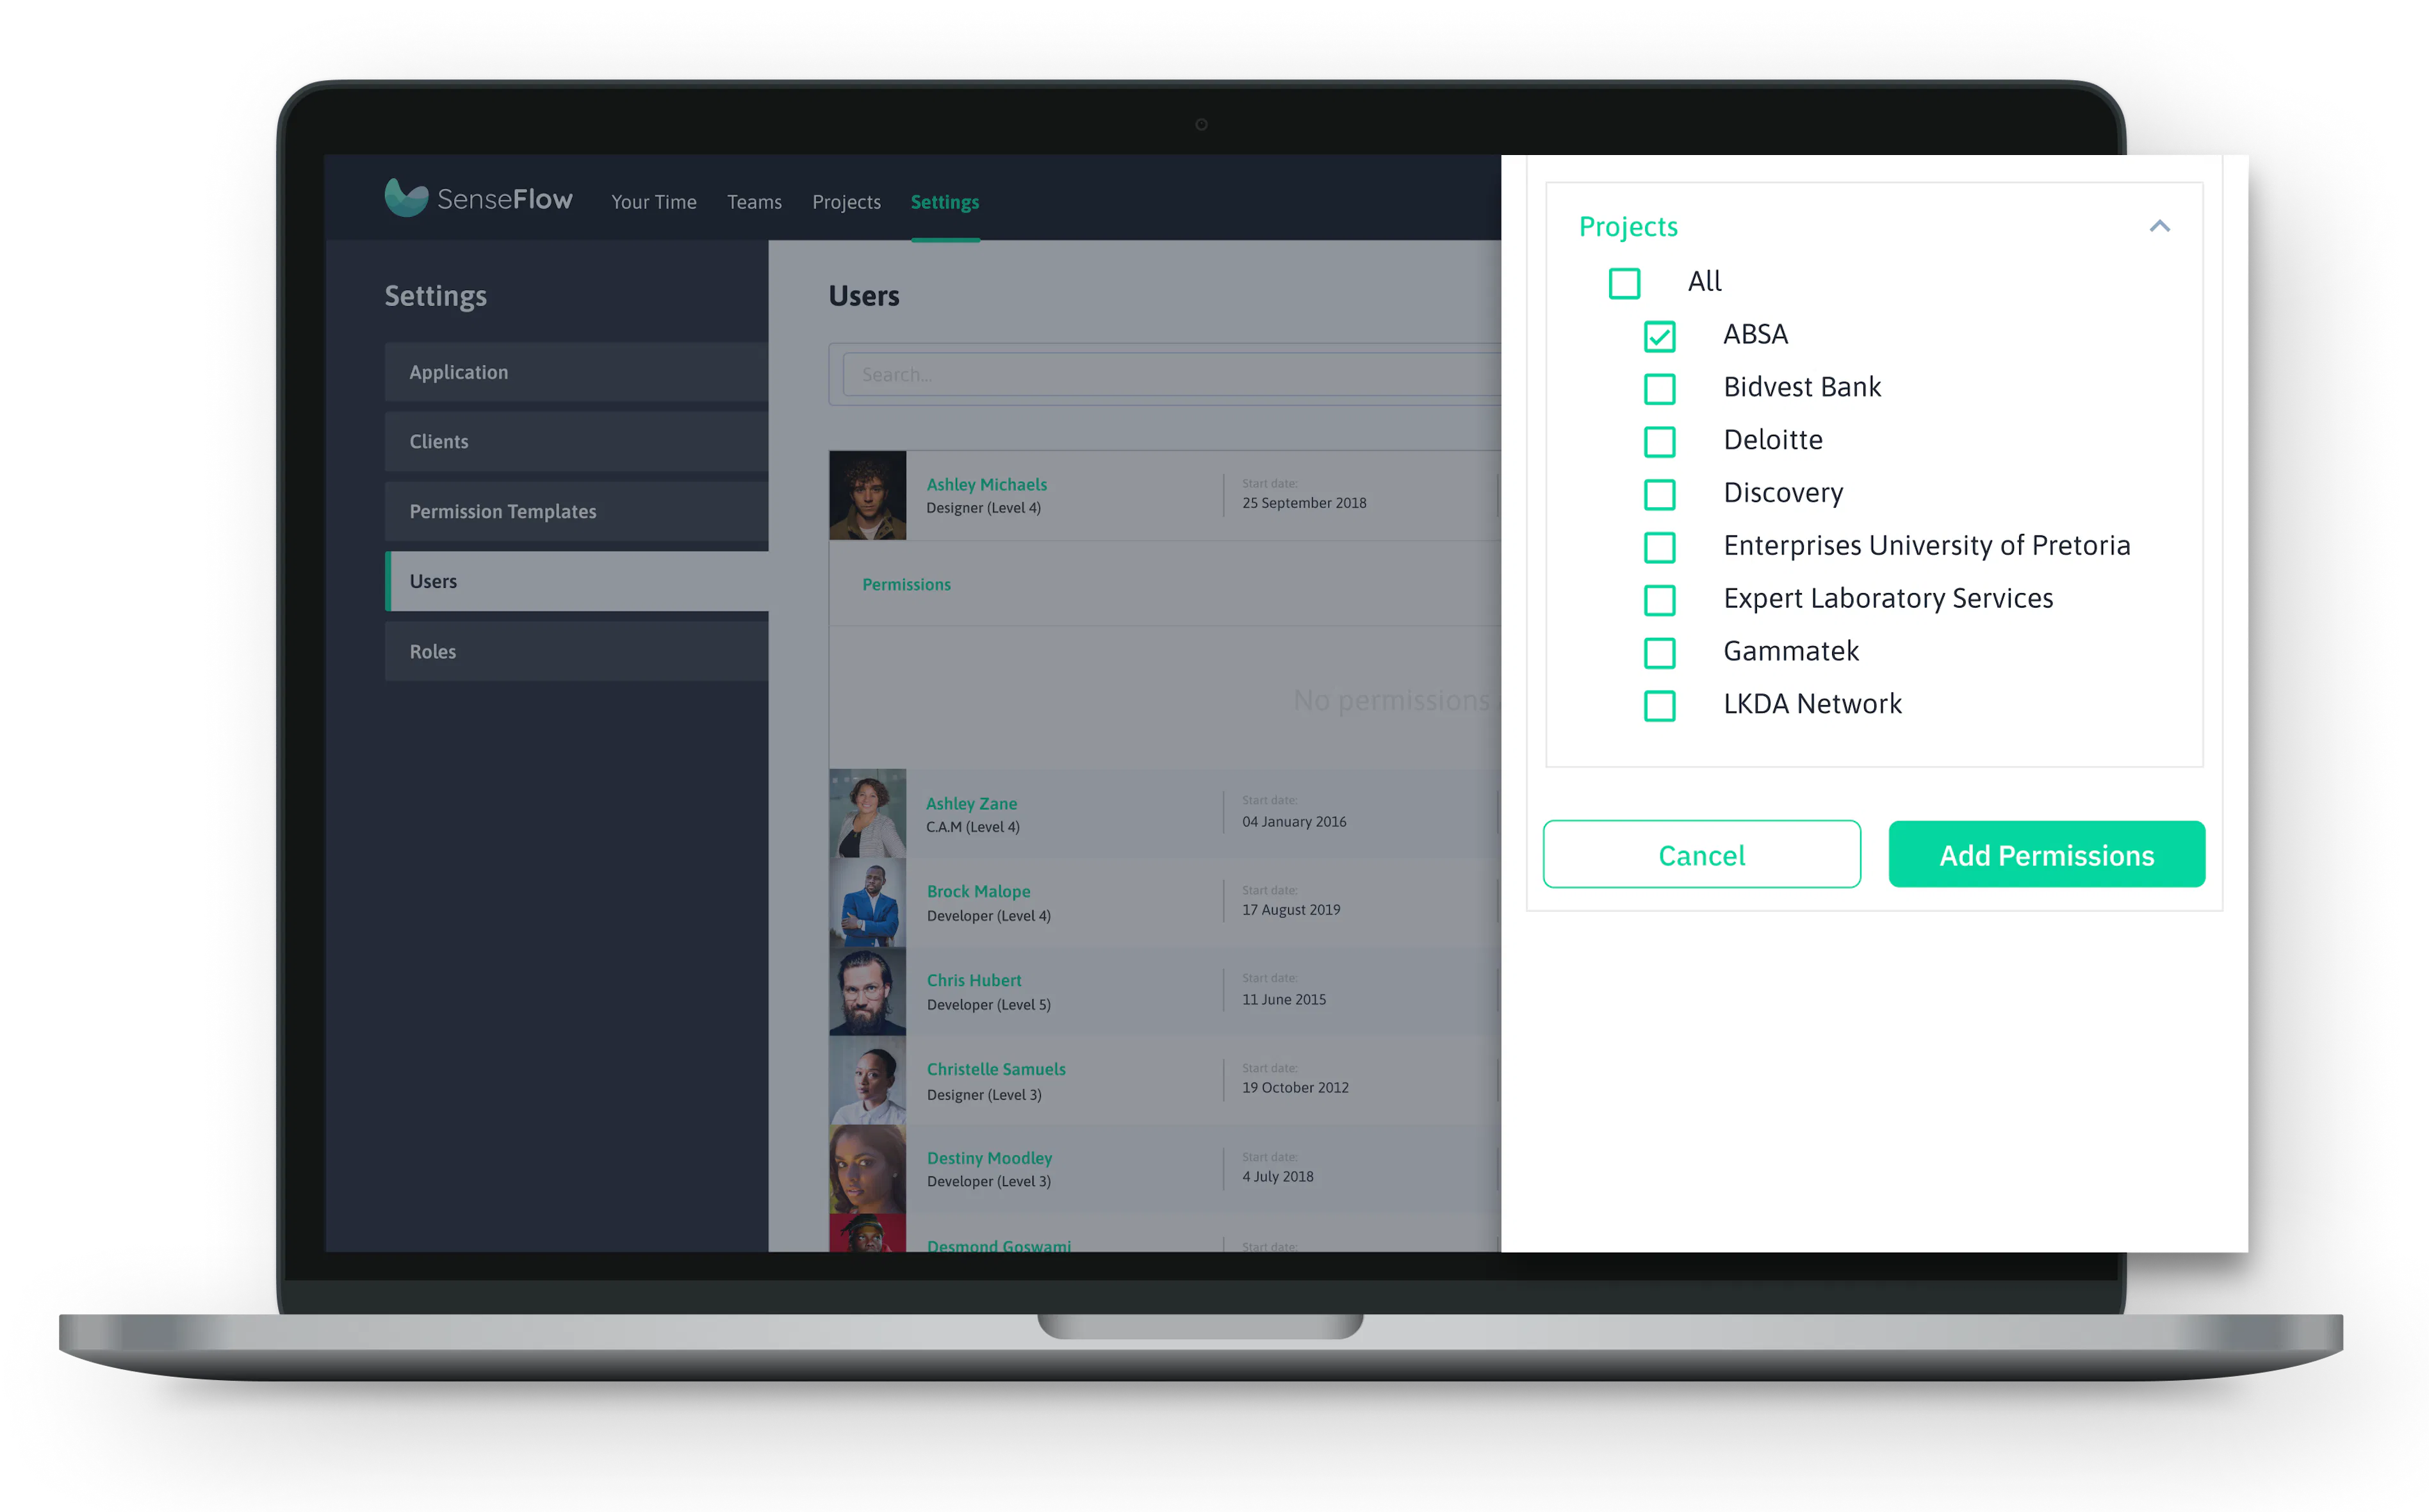
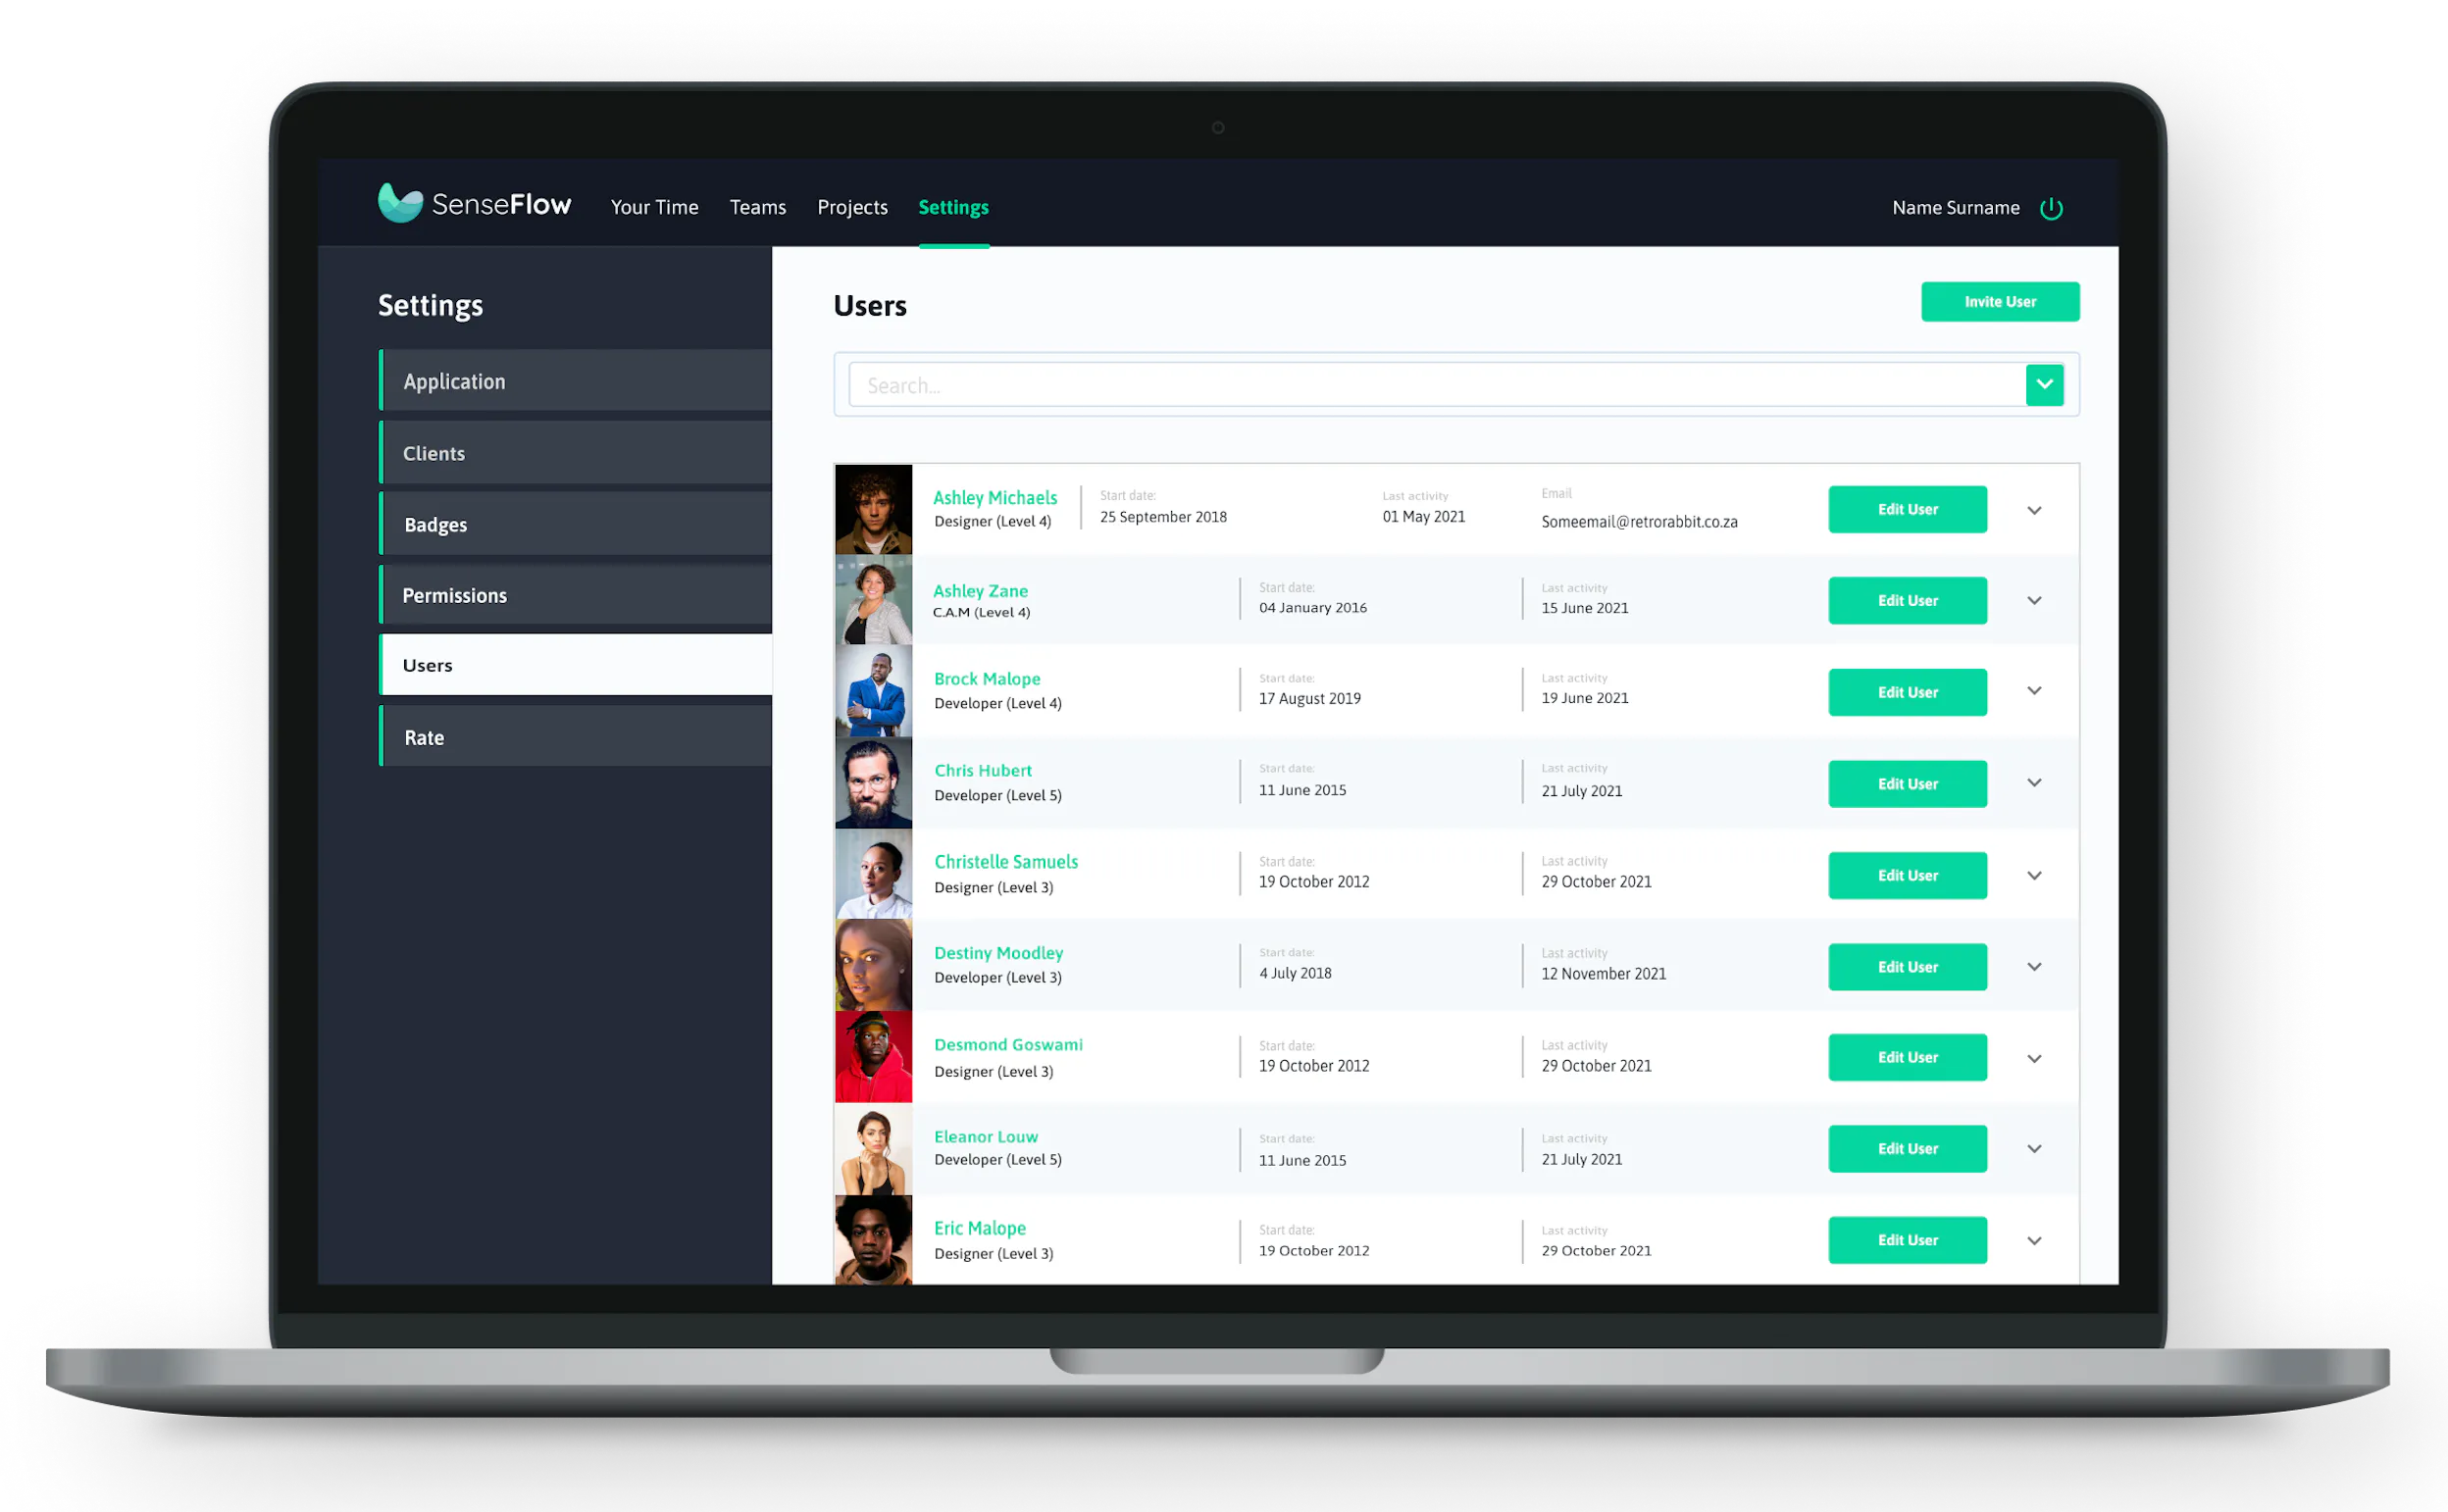
To invite/add a new user, click on the ‘Invite Member’ button.

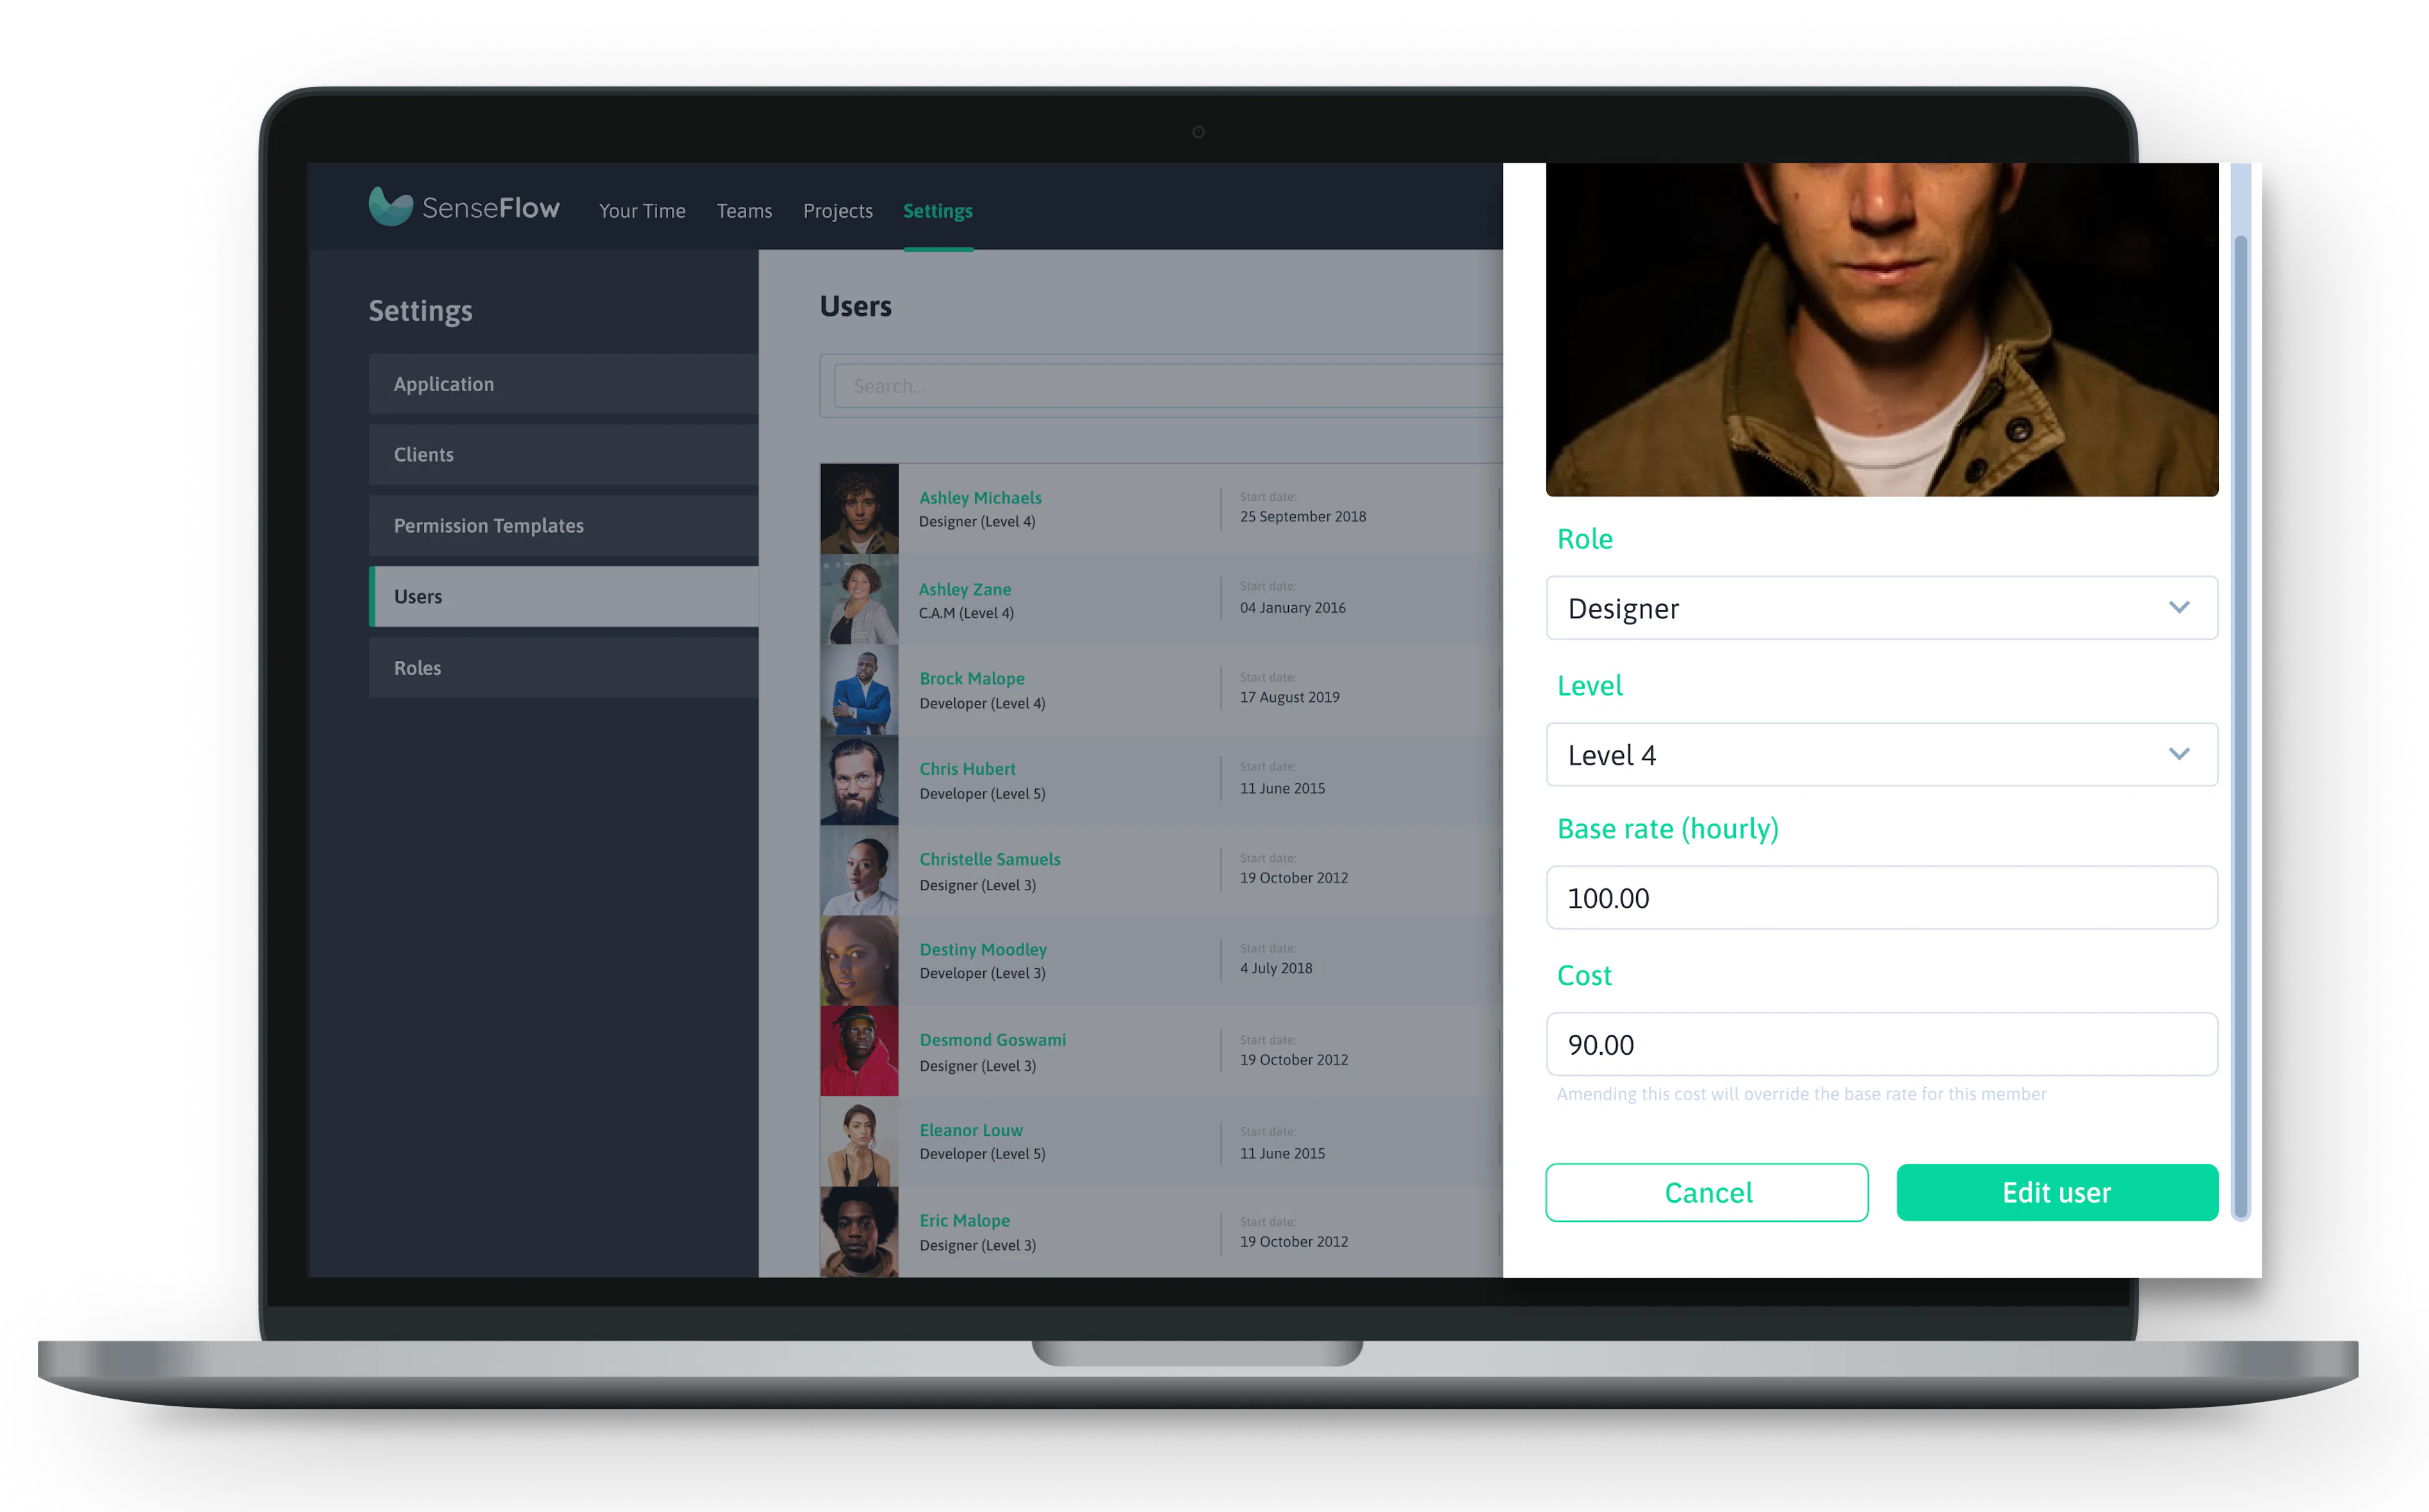
Populate the user/member information by filling in their full name, email, start employment date at your company, their role, their level, and then press the 'Invite Member' button when done.

The user/member will then receive an email and will be prompted to go to SenseFlow

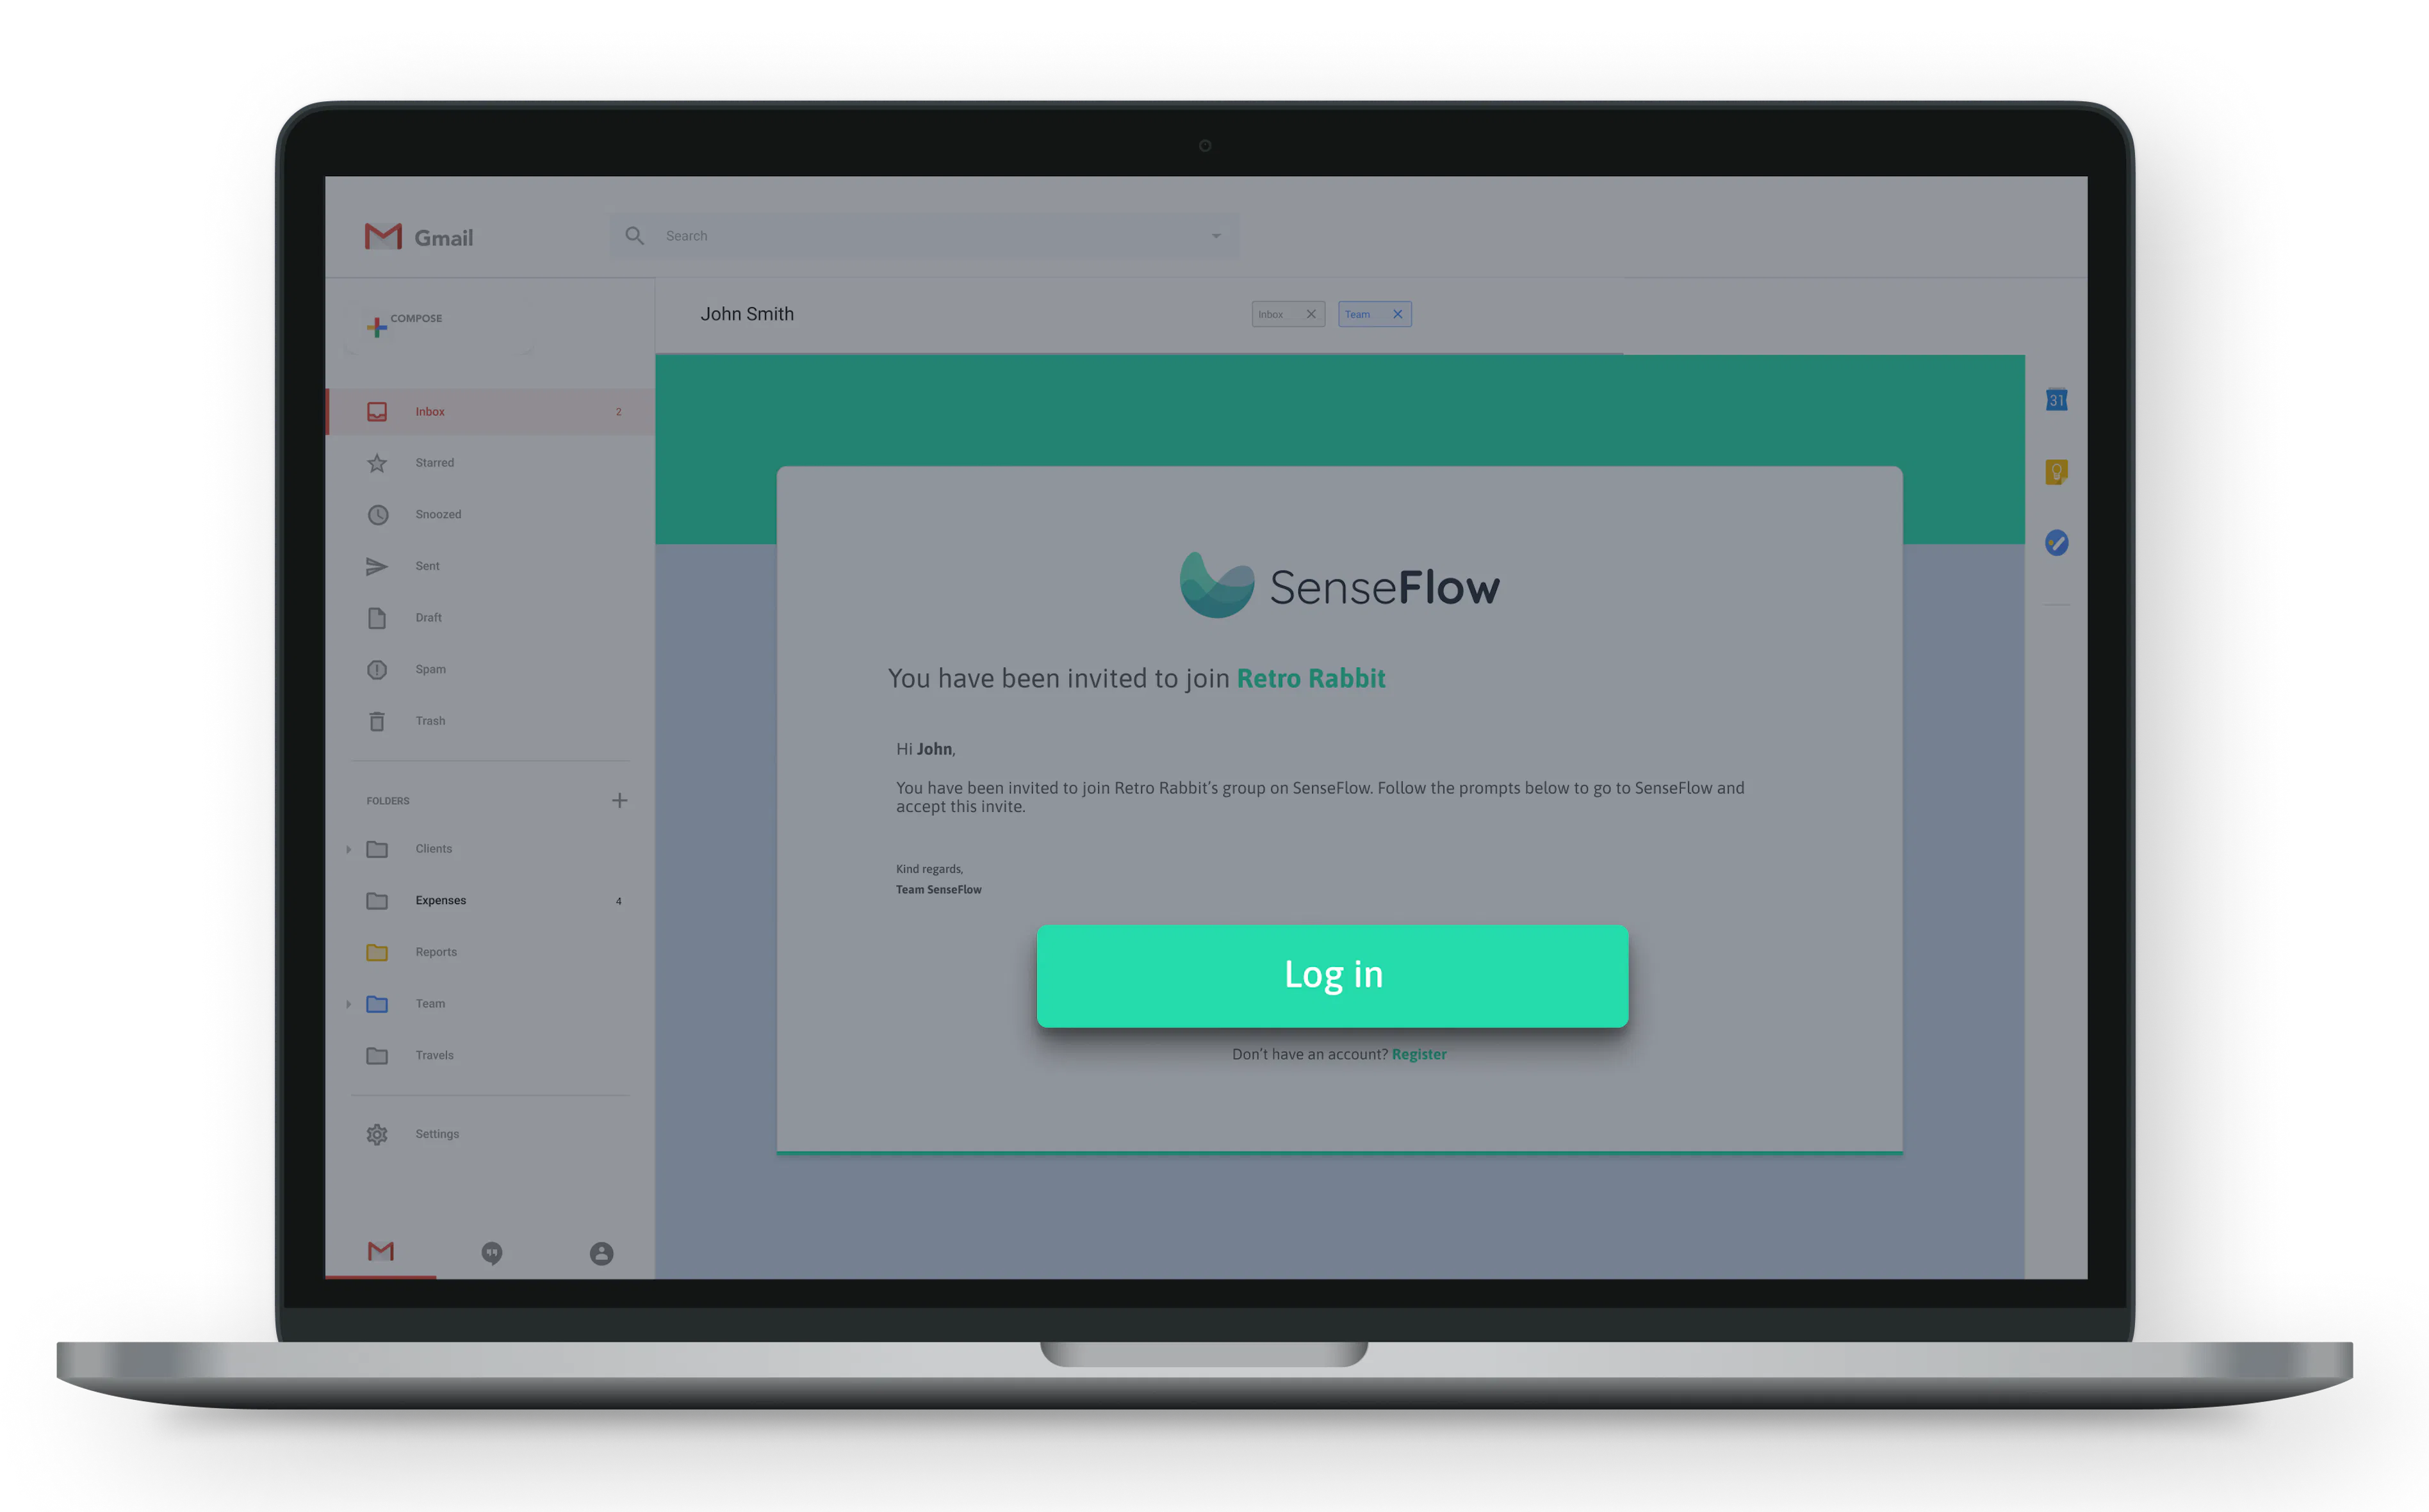
The user/member will get an email like this and they will be prompted to click the 'Log in' button on the email to redirect them to SenseFlow.

How to edit users

To edit a user, click on the ‘Edit User’ button.

This edit user form is quite lengthy and has a scroll down. This is where you can edit the user's employee code, full name, email, employment start date and profile picture of the employee. When you scroll down you can also edit the employee role, role level, base rate, cost of the employee to the company and then you can click 'Edit user' after you are done editing.

How to add user permissions

Find the employee you want to add permissions for and click the chevron to see more information.

Click on the 'Add Permissions' button.

Select the ‘Permission’ category and what the permission is for (the type). Examples of the type of permissions include, but are not limited to: person, team, project, level, application, client, role and badge.

Select the permissions you want and the permissions that appeal to you.

Select the last permissions you want for projects as shown in the example above. Click 'Add Permissions' when done.